


The Glasshouse
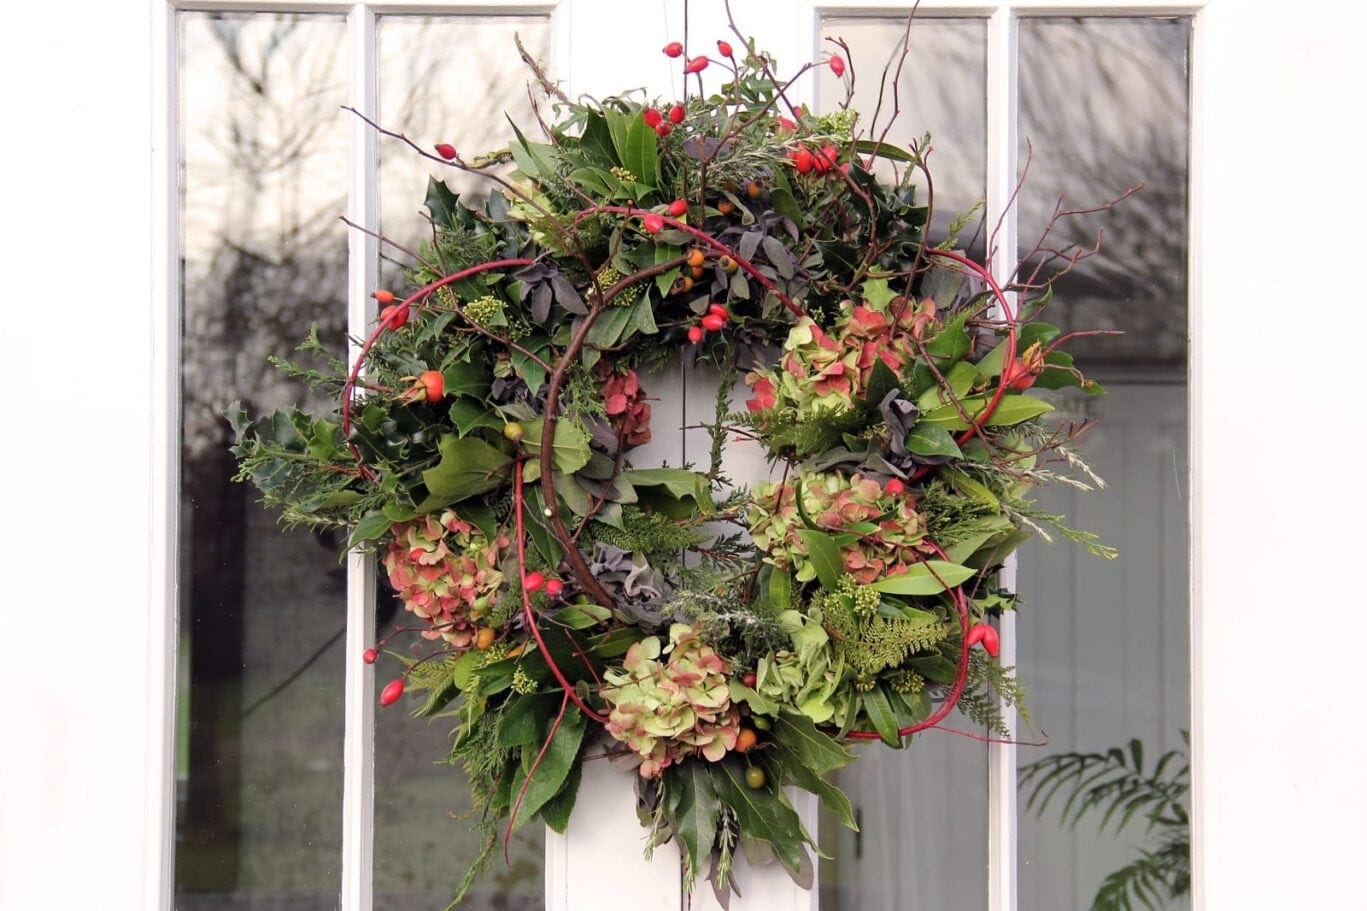
It’s that time of year where we find ourselves rummaging around in the attic for those treasured Christmas decorations, pulling numerous boxes from their shelves and trying to remember whether we kept the tinsel from last year’s tree. As the world tries to adapt to a more sustainable way of life, we’ve been thinking about how we can make our own Christmases more environmentally-friendly. So, we caught up with Tash, our Head Gardener, who suggests upcycling old decorations as a great place to start…
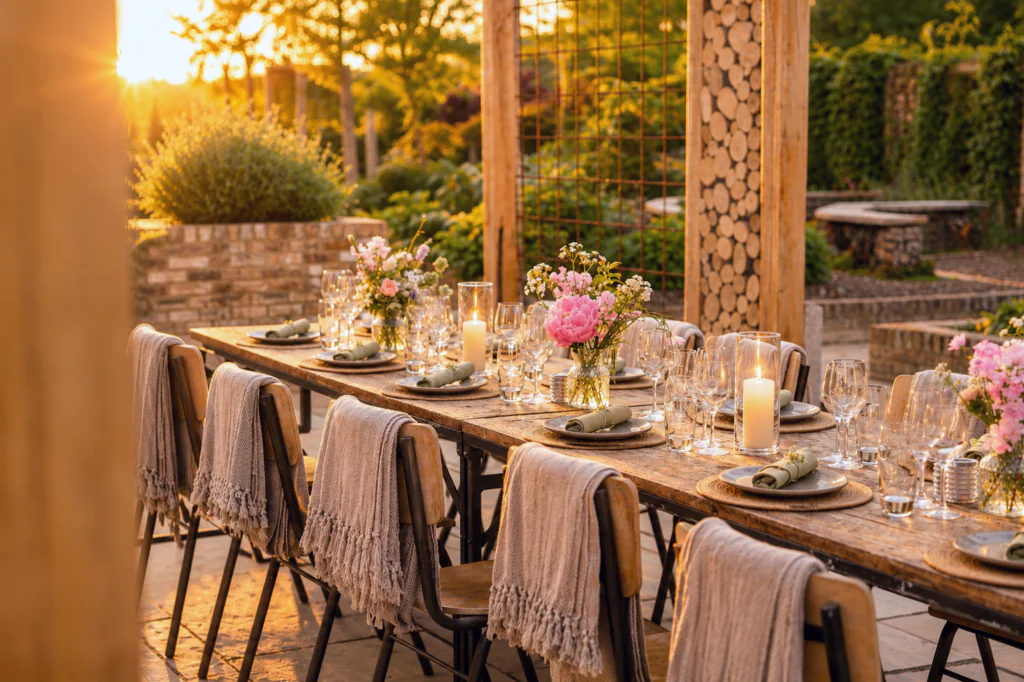
1. How to create a sustainable Christmas tablescape

Using the garden as inspiration, make your tablescape the ultimate festive spectacle of natural beauty. To give you an idea, I have put together a step-by-step guide to help you create a version of our own sustainable Christmas tablescape:
- Create a table runner made from recycling a curtain.
- Use some chicken wire to make a ‘sausage’ to hold the flowers in place. (When picking flowers to dry or use in the display, keep in mind to only pick what you need, as insects will utilise the seed heads to hibernate in, and birds and small mammals will feast on the seeds over winter.)
- Add some recyclable battery-operated fairy lights for added sparkle.
- Next, add some sheepskin cut-offs to add warmth and cosiness to the tablescape (ours were repurposed from a table in the hotel).
- Pampas grass plumes are to follow (we picked ours off-site and they can also be used to hide the chicken wire).
- Add some allium seed heads (ours were kept from May time which we had hung upside down to dry and to help them keep their star-like shape).
- Next, sprinkle over with some dried grasses, teasels, quaker grasses and honesty seeds (the latter are the most magical, adding a slightly iridescent feel to the scape).
- Lastly, scatter some clematis seed heads which are suitably nicknamed ‘old man’s beard’ (we harvested our own from our gardens).
When you have wowed your guests with the finished winter tablescape, simply pull it apart and place the dried materials either on the compost or laid out in the garden. Store the other materials away, ready for your next tablescape.
2. How to create miniature pampas grass Christmas Trees
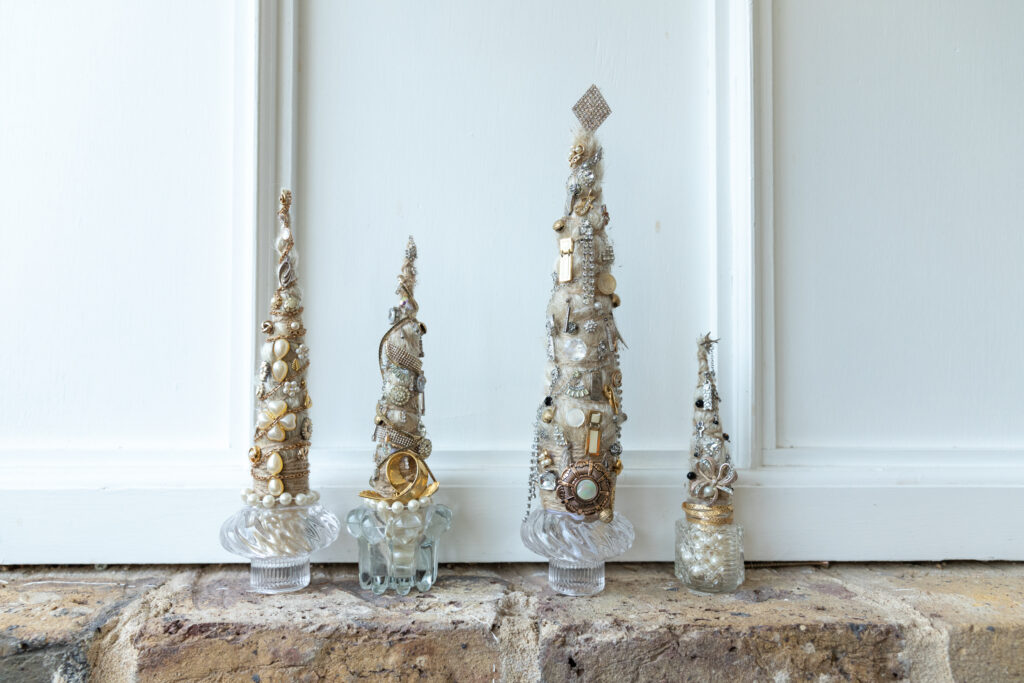
This one’s a tad more sentimental. Using old family jewellery to embellish the pampas trees, give your sustainable decorations that extra personal touch…
- Collect some pampas grass heads.
- Make a cone shape from recycled brown paper and hold the shape by using eco-friendly brown paper tape.
- Add enough pampas grass heads around the cone to cover the paper. I used approximately 3 per tree.
- Secure the pampas grass with string. Start from the base of the tree.
- Once complete, you will need to trim off the base of the cone so that it is flat and is able to stand up as it is. I secured mine to a cut glass base (you could use old, preloved glass finds).
- I like this part – decorating with forgotten family jewels. I chose to use both of my grandmothers’ costume jewellery, creating seasonal trees filled with nostalgic family memories. (This may not be your cup of tea, so you could use decorations such as buttons, dried flowers, pressed leaves or some ribbons.)
3. How to upcycle your Christmas baubles
The Christmas bauble was first invented in Germany in the late 1840s. To begin with, baubles were bought by wealthier individuals as they were hand-crafted and made from glass, but it wasn’t long before plastic versions were created to allow for low-cost manufacturing and affordability for everyone. Unfortunately, baubles have now become freely disposable and head straight to landfill when thrown out, but that can easily be avoided with a simple bit of upcycling…
To prepare the baubles:
- Collect together any old, scratched or outdated baubles. Make sure that each one has been cleaned and remove each bauble hanging clasp.
- Retrieve a box from your household recycling and make one or two slits on each side. Thread each hanging clasp onto wire or cotton thread, tying a knot in one end and sliding into one of the slits. Pull to the other side and then fix through the remaining slit. This will be used to hang your freshly painted baubles to dry.
- Once you have decided on the colour theme for your upcycled baubles, you can then decide on the finish for the hanging clasps. You may decide to keep the original colour, or change them to a contrasting shade.
- Next, find another box, the size depending on how many baubles you aim to upcycle.
- Punch through an upturned box with BBQ skewers to place the baubles on to dry once they have been painted or glued. Start painting the bauble. I started with one end, letting it dry before starting on the other end. If you choose to use matte paint, it might need two coats depending on the quality.
Now for the fun part…
To decorate the baubles:
The key is to be willing to experiment and have fun. You could paint your baubles with a brush stroke effect or use a dabbing technique. I used masking tape on some to achieve crisp lines. I also found using chalkboard paint quite fun – after I had prepared the baubles, my children really enjoyed using chalk pens to decorate their own baubles, as they’re not the patient kind to wait for paint to dry!
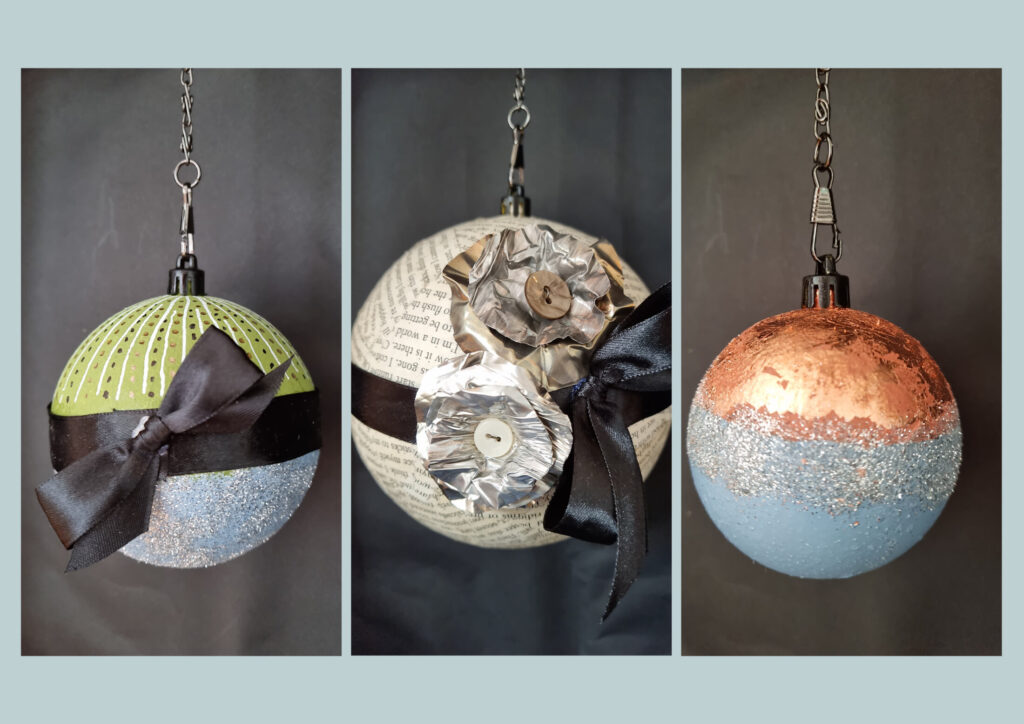
Old book pages and leftover wrapping paper is a great way to add a different texture and visual effect. You could use the paper to create a band around the bauble or to cover it entirely. If you have a printer to hand, perhaps print your favourite wildlife onto the old book pages, giving a more bespoke, vintage look.
This is also a perfect excuse to raid the craft box. I trawled through mine and found fabrics, bronze leaves, pearls, ribbons and buttons, just to name a few things. (A side note on glitter – if you wish to add some sparkle, try to make an effort to buy a biodegradable alternative, keeping the planet in mind!)
To create the metal flower decorations (as seen on the pictured baubles):
- Find a foil tray (I used one left out from an indulgent yet very delicious takeaway!). Add it to a dishwasher cycle and it will come out both clean and slightly tarnished, giving it an antique edge.
- Cut out two roughly shaped circles, one slightly larger than the other.
- Next, pick out some buttons from your button jar – if you don’t have a button jar, perhaps you have some unwanted costume jewellery that you could use instead.
- Thread the buttons onto wire and then poke through the foil circles, twisting on the other side to hold in place.
- To finish, carefully bend and mould the plate of foil until it resembles a flower and then glue into position. I used a hot glue gun, although superglue would work just as well.
- Allow your beautifully upcycled baubles to dry before showing them off on the Christmas tree!
I hope you have fun possibly thinking of ways to upcycle any festive items you have at home through the seasons. Upcycling isn’t just for Christmas, it’s for a reason!
Merry Christmas!
Love, Tash x